Starter Tips to Make Better Home Videos
Did you ever get to see your first trip to the beach in a VCR? If the answer is “no”, then lucky you!
But seriously, do you remember those homemade videos? They are absolutely one of our parents’ great treasures, of course. Not precisely because of the quality of the recording nor because of the used technique, but because of the content. And although most videos we make or have made are all about their significance, sometimes there is a reason of why they are not exactly show off-material.
If you just got your first DSLR camera or you are interested in acquiring one just to shoot pictures, you will probably encounter the need of shooting a nice, decent video at some point. And in order to make a better, less embarrassing video than the ones our parents used to do, here I propose a few tips to make your home made videos a bit more professional.
Keep in mind that you can also apply some of these advices if you have a powerful phone camera.
Try some stability
One of the main things that gives a rookie away is when the video seems like it’s done during an earthquake. We try to stay firm with our hands, but if the video is going to last more than 30 seconds, our stability definitely starts suffering.
In order to have stability with your DSLR, you can try simple things. The main recommendation once you get a DSLR is to also get a tripod, since it’s the most effective way to avoid vibrations. However, if you don’t have one, don’t worry: you can try placing your camera on any stable surface.
Many photographers use bean bags, which are stable enough. And the best part is that they allow you to modify the angle of the camera if needed, since the beans make the bag moldable.
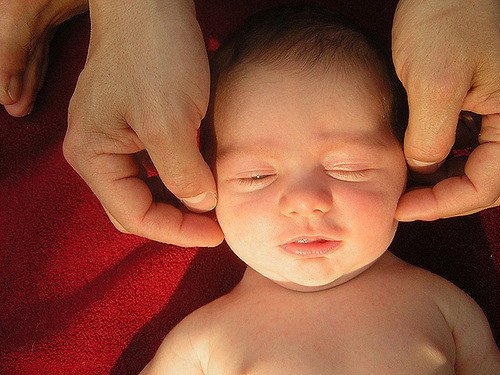
In general, the lack of shaking or improvised movement will allow your homemade video to look more professional. Not to mention it makes the image a lot clearer. If you are recording your baby while he/she is crawling, you can set the camera on the floor or on a short surface as well.
Careful with the audio
One of the things we tend to forget while we are about to shoot a video is the surrounding audio. Haven’t you ever caught an awkward conversation in an extraordinary video, which at the end you have to cut down? If you ask me, this is one of the worst losses of a good homemade video.

© Adriano Makoto Suzuki – Flickr.com
The built-in microphone in your camera works much better where the atmosphere is quiet. The quieter the place, the better focus there will be on necessary and important sounds. However, if you happen to be in your backyard, you will most likely miss important details or else, overexpose too many noises. One of the things you can do is to get an external microphone. They are not usually too expensive, so feel free to check them in online stores.
If you are indoors, this is easier to handle. In any case, try to be the most silent person in the area. Your result will speak for itself.
Compose your video as if you were shooting photography
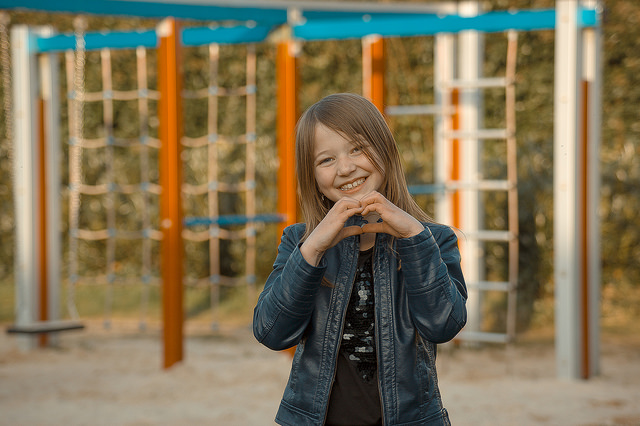
Many photography rules apply while you are shooting videos. In fact, photography composition is probably one of the things you will like to remember while at it.
Homemade videos are not supposed to be totally improvised. So if you want to shoot something and make it look more professional, take in consideration some composition rules. This, along with stable recording, will completely change the perspective of the video.
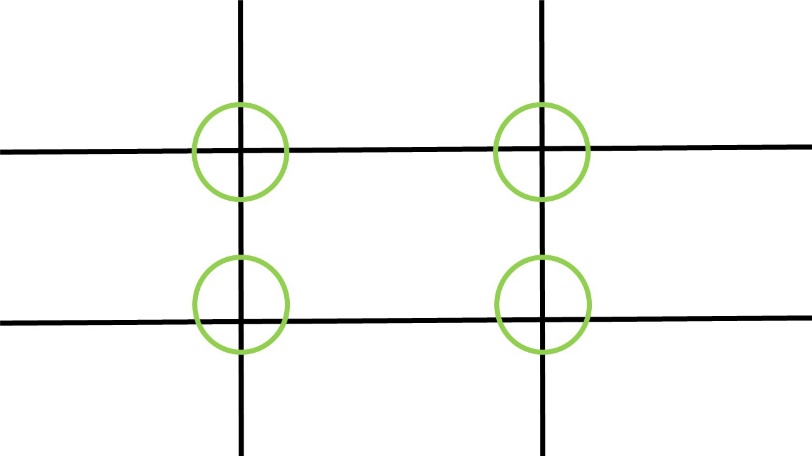
One of the basic tools you can use to compose a video is the Rule of the Thirds. Remember to position the main items of the composition in these points:
Focus Manually
Most times we feel uncomfortable with focusing manually. It’s harder than it seems! However, automatic focus can cause several focusing mistakes during the takes. At this point, you have obviously seen a couple of videos go blurry and focused more than once in their time rates.
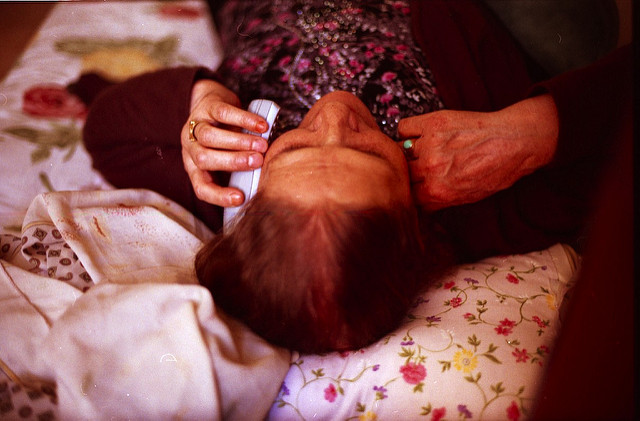
In order to avoid this, you can practice focusing manually. Of course, when you have a fast moving target such as a baby or a running dog, things can get a bit messy. If you have time to experiment with the focus of the scene, I would highly recommend you try manual focus.
If you happen to have too many moving targets, you can also try different semi-automatic modes in your camera such as Shutter Priority mode. You generally have around 4 modes to choose from.
©zoghal – Flickr.com
Another use of a semi-automatic mode such as Aperture Priority mode is when you have a light-changing scenery (for instance, if you are following your dog from the living room to the backyard). In this mode, camera will make sure that there is a proper light all the way.
Keep practicing
You won’t make a professional videographer without practice. The best part of this is that you will always have something to practice with, whether it’s at home or in another place. It’s the same principle of photography, actually. So you don’t really have to wait at special events to shoot – in fact if you haven’t practiced, please don’t.
One of the most effective ways to practice is to shoot at moving targets. When we have kids or pets at home, this is a very easy task since they are mostly active, at least one part of the day.
Another way to practice is shooting during the day, since daylight will favor you more when it comes to realize of the composition or lightning mistakes. And if you are shooting at night, make sure you have enough artificial light to avoid grainy videos.